


Are you thinking about Why is Lightroom creating duplicates? Many trainee and professional photographers use Lightroom as their go-to photo editing and management app. You run the risk of having your pictures duplicated and wasted space, though, as is the case with any photo management app.
In this article, we’ll review the steps to remove duplicate photos from Lightroom on Windows and Mac. These tips and tricks will help you declutter your storage and keep it dupe-free. You can perform manual steps or use thebest program to delete duplicates.
For What Reason is Lightroom Making Duplicates?
Among the many possible causes for Lightroom to generate copies are:
- File names: The images might have different names or formats.
- Different folders: It is possible to save images to more than one folder.
- Various forms: The camera may record in JPEG and RAW formats.
- Syncing: Another editor, such as Aperture or Luminar, can sync photos.
- Final folder location: Creating a year folder duplicate is possible by choosing the incorrect “Parent” folder in the Destination panel.
- Using keywords: Inadvertently combining flat and hierarchical keywords could lead to a chaotic keywording system.
Within the File Handling panel on the import window’s right side, you’ll find Lightroom’s option to “Don’t Import Suspected Duplicates.” This will prevent the import of duplicates.
Know the Windows Version of Lightroom and How to Remove Duplicates?
Currently, Lightroom does not have an option to remove duplicate photos automatically. However, there are three ways to remove Lightroom duplicate photos. As an example, you could manually delete the duplicate images. Another option is to Choose the best program to delete duplicates. These are the top methods to remove Lightroom duplicates from Windows:
Method 1: Manually Eliminating Duplicate Images
The search bar can find Lightroom duplicate photos even though it doesn’t have one. After finding the duplicate image, follow these steps:
Step 1: Access the Lightroom album or recent photos to find duplicate photos.
Step 2: Click on the All Photographs or Collections tab in the left panel to view all photos.

Step 3: Scroll through the images and select the duplicate ones.
Step 4: You can select multiple images by holding down the Ctrl key.
Step 5: Press the Delete key to send them to the Recycle Bin. If you’re certain about the selection, you can also press the Shift + Delete keys to permanently delete the selected images.
This is all required to extract duplicate photos from the Lightroom folder. You can also select multiple photos and have Lightroom delete the duplicates.
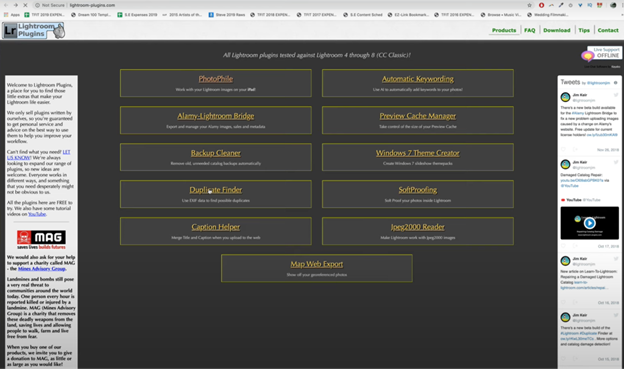
Method 2: Eliminating Duplicate Images with the Help of Plugins
Teekesselchen is a useful Lightroom plugin for finding duplicate images in Lightroom. It can be a good Lightroom duplicate finder. It finds duplicates in the Lightroom catalog using the EXIF information from the photos.
Step 1: To access the “File” menu’s submenu in Adobe Lightroom, click on it. Pick the “Plug-in Manager” option.
Step 2: This button opens the “Lightroom Plugin Manager” window. Find “Add”. Next, locate the Teekesselchen plugin in your computer’s file system. Close the pop-up with “Done”.
Step 3: Pick “Plug-in Extras” from the “Library” submenu right now. Choose “Find Duplicates” from the Teekesselchen folder.
Step 4: The window title you’ll see is “Teekesselchen: Find Duplicates.” To find duplicate images, you can adjust several EXIF parameters here.
Step 5: The images in the active Lightroom catalog can be quickly and easily scanned by selecting “Find Duplicates” from the window’s bottom menu.
A window displaying the total number of duplicate images in the catalog will appear once the scanning process is complete. The plugin is unable to eliminate the duplicate images independently. However, the Rejected Photos flag will be attached to the duplicates in Lightroom.
Step 6: Click the “Photo” menu and select “Delete Rejected Photos” to remove the highlighted copies. It will open in a new window. After you’ve chosen the image, you want to delete, click the “Delete from Disc” button.
Method 3: Using Duplicate Photos Fixer Pro on Windows
It will be a laborious process to go through each image manually. Duplicate Photos Fixer Pro is a lifesaver when removing copies from your windows. It has advanced algorithms to run a quick scan and deep scan to find all the duplicate photos in any storage device. It has great compatibility with all the latest Windows, MacOS, Android, and iOS versions. You can scan all the internal and external storage devices including the cloud storage devices. Here are the steps to use it:
Step 1: After the installation, run the duplicate image cleaning program and scan the Lightroom photo library.
Step 2: Upload the images or folders you wish to scan. You also have the option to drag and drop images to view them.
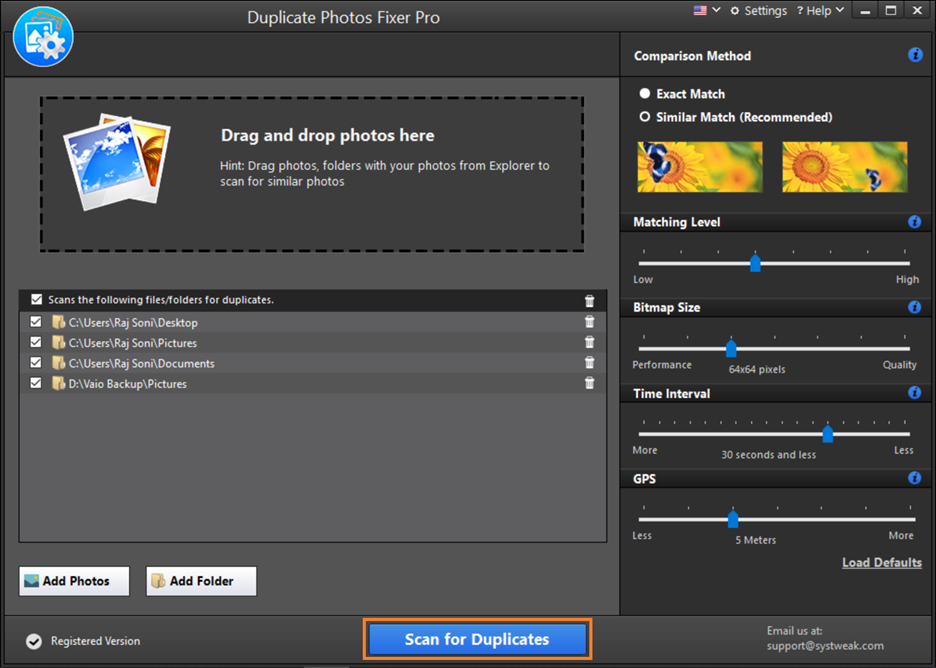
Step 3: Under Comparison Method, choose Similar Match, then tweak the Matching Level.
Step 4: To begin, go to the next step and click on Scan for Duplicates.
Step 5: See the scan results before you choose the pictures. One option is to leave one box in each group unchecked and use the Auto Mark feature to select the results automatically.
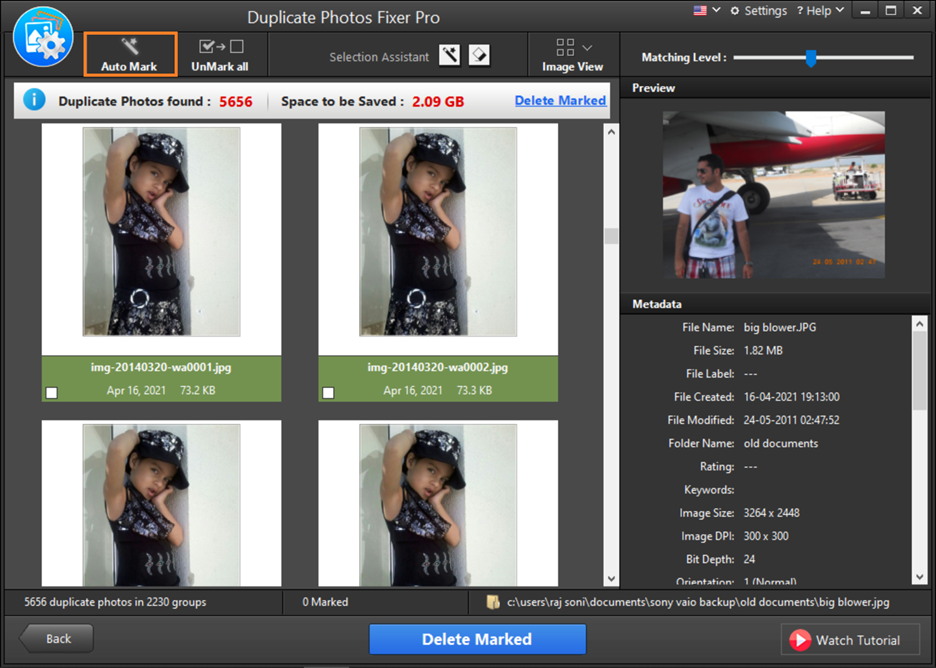
Step 6: To send copies to the trash, choose Delete Marked.
This is the process for obtaining a copy of your computer without using copies or the folder to which Lightroom saved your images.
A Guide to Erasing Duplicate Photos from Mac
Here, we will go through the top methods to manually remove duplicates and use the Lightroom duplicate finder. So, keep reading.
Method 1: Use Smart Folders
It might take some time to search for duplicate pictures manually. Plus, it’s a major pain in the neck! You can make use of the Finder App to create a New Smart Folder and check for duplicate images quickly.
Step 1: Click on the Finder App on the Dock.
Step 2: Click on the plus sign to customize the search criteria.
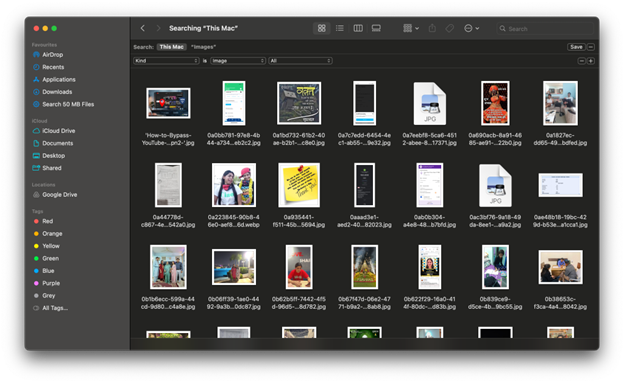
Step 3: Discover the location of your Pictures folder.
Step 4: Choose Lightroom Library > Open > Scan for Duplicates from the following menu.
Two paths are available once Gemini 2 has finished scanning your library. To see all the files, it discovers and chooses which ones to retain, click Review Results. Another option is to use Smart Cleanup, which automatically removes duplicates with a single click.
Method 2: Making Use of Mac’s Photos App
Eliminating duplicate media files from your library is a breeze. The Duplicates album on the sidebar will automatically display duplicates. (Duplicates may only be visible after Photos evaluates your photos; this might depend on the size of your library.)
Step 1: Choose Duplicates from the sidebar of the Photos app on your Mac.
Step 2: Pick out the copies you wish to combine.
You can merge specific items in a single row or merge multiple rows of duplicates simultaneously.
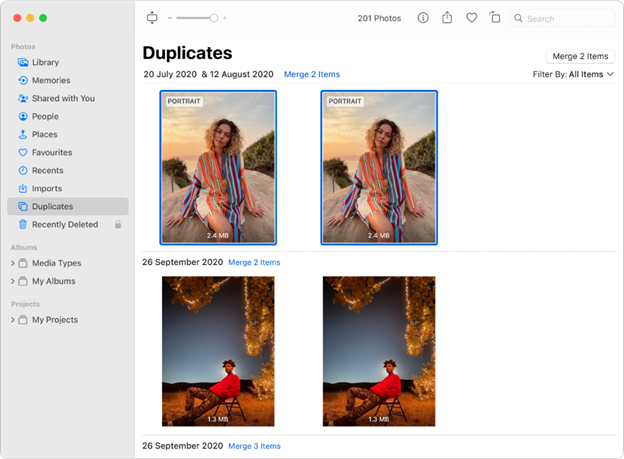
Step 3: Select the Merge [number] Duplicates option.
One authentic image or video will show in your library in place of the chosen copies. You can find and either restore or permanently remove deleted copies in the Recently Deleted album.
Method 3: On a Mac, Using Duplicate Photos Fixer Pro
To remove duplicate images on a Mac, follow these steps:
Step 1: Boot up your Mac and run Duplicate Photos Fixer Pro.
Step 2: Include specific images, and Insert pictures from your photo library or other folders. You can also drag and drop images onto the scanning area.
Step 3: Choose between an Exact Match and a Similar Match, then modify the matching criteria on the right side of the screen to suit your needs.
Step 4: Choose “Scan for Duplicates” from the menu.
Step 5: You can expect a fast scan with grouped presentations of all the duplicates and similar photos found.
Step 6: To have the program choose duplicates for you, click the Mark/Unmark button.
Step 7: If you no longer require a duplicate, you can remove it by clicking the Trash Marked button.
Step 8: Select Trash Photos to confirm the action.
After that, you’ll see a brief overview of the Photos Lost and Space to Restore.
Conclusion
One quick and easy way to finish editing your photos is to use an app like Lightroom. But you won’t get as much done if your library is full of duplicates in Lightroom and other crap. Clean it up and make more room in your storage to edit pictures correctly.
You’ll be glad you did. Fortunately, you can use Duplicate Photos Fixer Pro for Mac and the Photos app for Windows to further speed up the Lightroom remove duplicates process.