Looking for a free business email address provided for your domain? Or you recently got to know about Zoho Mail but wondering how to set it up?
It is a relatively very simple procedure to set up your domain with Zoho Mail to get a free business email address. Read on to find out how easy it is to set up a domain with Zoho Mail step-by-step process.
What is Zoho Mail?
Zoho Mail is an excellent and most efficient email service provider which is highly secure, quick, encryption protected and privacy secured. You can get business email addresses for professional users for your domain for free albeit with limitations. But even the paid versions are highly affordable and provide an extensive list of features for every need.
Steps to set up the domain with Zoho Mail for free:
Although the Forever Free Plan of Zoho Mail is extremely lucrative, it comes with limitations such as up to five users, 5GB/user, a 25MB attachment limit, and a single domain. And also it doesn’t include IMAP/POP/Active Sync with the free plan.
Hence if your requirements are within these limitations provided for the Forever Free Plan of Zoho Mail then follow the below steps to set up your domain with it.
Step 1: Add and Verify your Domain
If you already have a domain for your organization then it’s easy to set up with Zoho Mail, if not then you can always purchase a domain from Zoho here.
How to Add your Domain to Zoho Mail
Firstly before setting up your domain, you need to add and verify it with Zoho Mail. Follow the below steps to add your existing domain
- First, you have to visit Zoho’s website and Sign up to create your new account. Follow your details and instructions to complete the Registration.
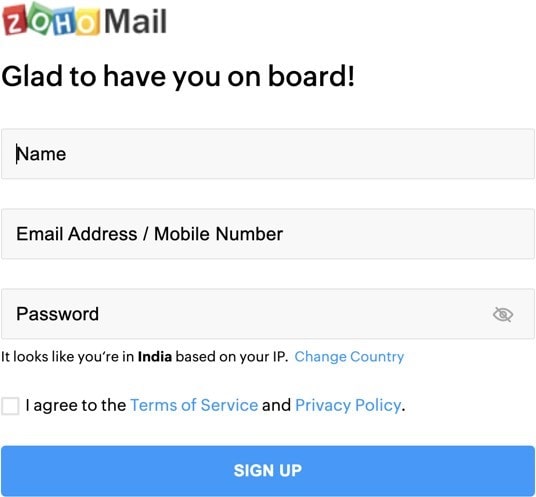
- After creating your account, Click on the ‘Add Now’ button to add your existing domain.
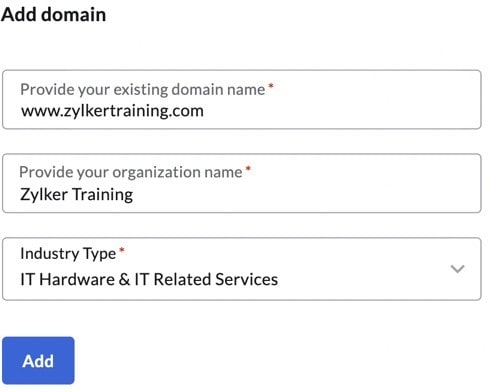
- Provide your domain details in the ‘Add Domain’ window and Click on ‘Add’.
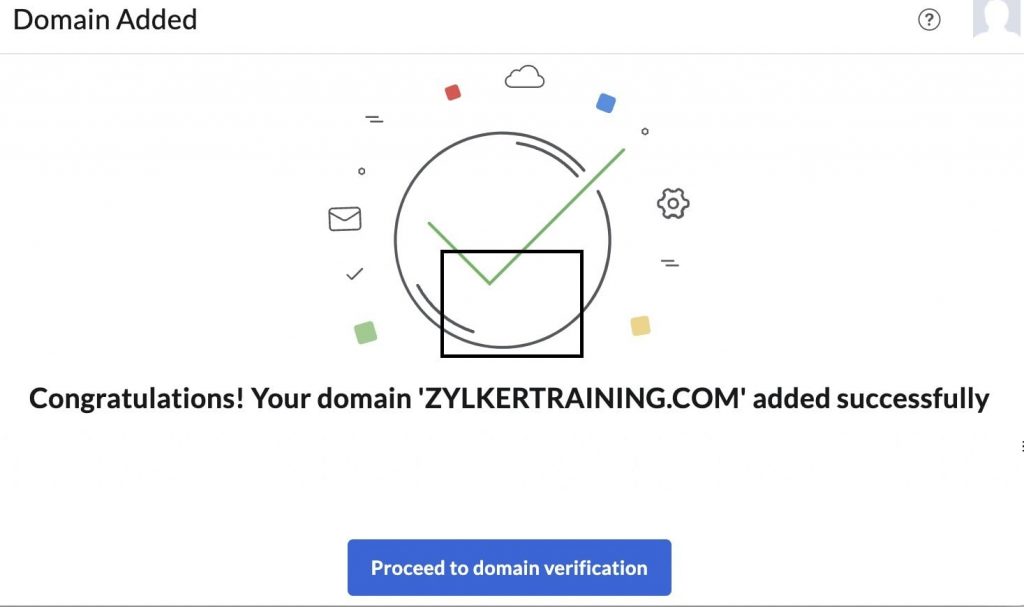
- Now, After the domain has been added, Click on ‘Proceed to domain verification’ to proceed with the domain verification process.
How to Verify Your Domain WIth Zoho Mail
Here to verify your domain with Zoho Mail there are two ways, One-Click verification, and Manual verification.
For One-click verification, login to your DNS provider and authenticate with Zoho Mail to use the DNS provider and add a DNS record. This option is currently available for GoDaddy and 1&1 domain providers.
For Manual verification follow any of the below procedures :
CNAME method – Create a unique CNAME code and add it to your DNS manager. Later Click on Verify CNAME in the domains page of the Admin Console.
TXT Record method – Copy auto-created ZB code from Admin Console and paste it into the TXT Record of your DNS Manager. Click on Verify TXT in the Domains page of Admin Console after adding the record.
HTML method – You have to upload the provided HTML file to a folder named zohoverify, which you should create in the root directory of your website. Later Click on Verify on Admin Console to verify the domain based on the HTML file.
Domain verification is a very crucial part to set up your domain with Zoho Mail to continue further procedures. So follow the above steps diligently before proceeding with the other steps below.
Step 2: Create Users and Groups
After domain verification, next, you should create a super administrator email address for your organization. Provide your preferred email address for admin and Click Create.
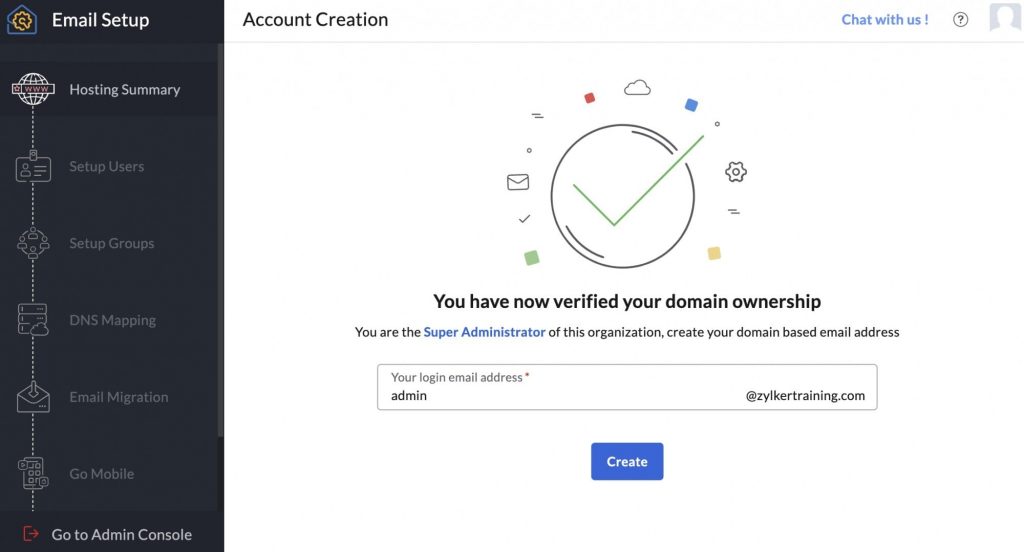
Later you can add users in four ways such as one user at a time, multiple users through Import using CSV, Import from Google Workspace users, and add external users through invite.
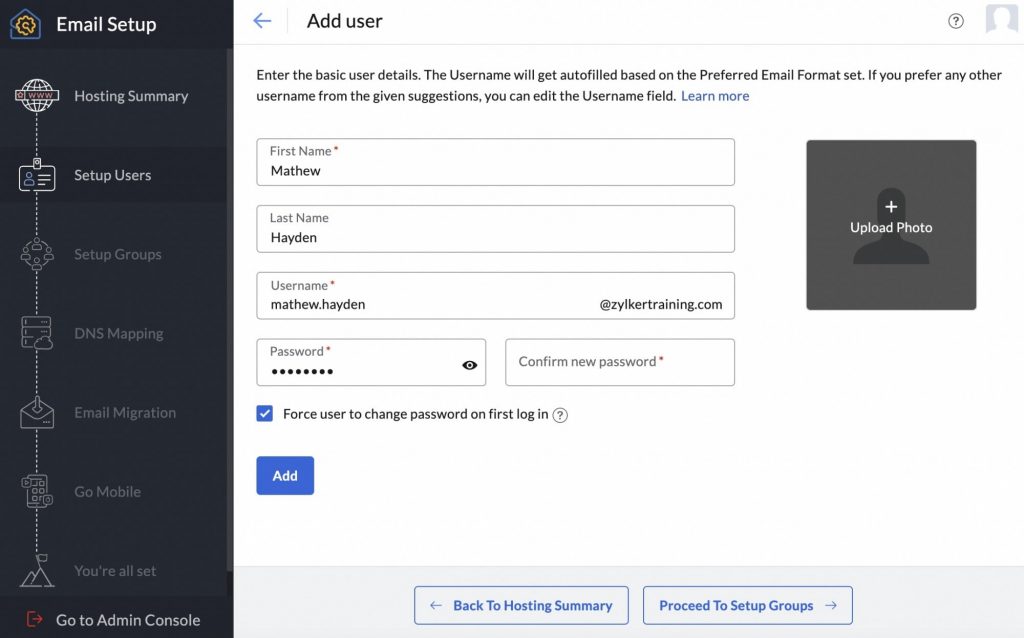
Once adding users is finished, Click on ‘Proceed to Setup Groups’. Here you can create multiple groups depending on your organization’s preferences.
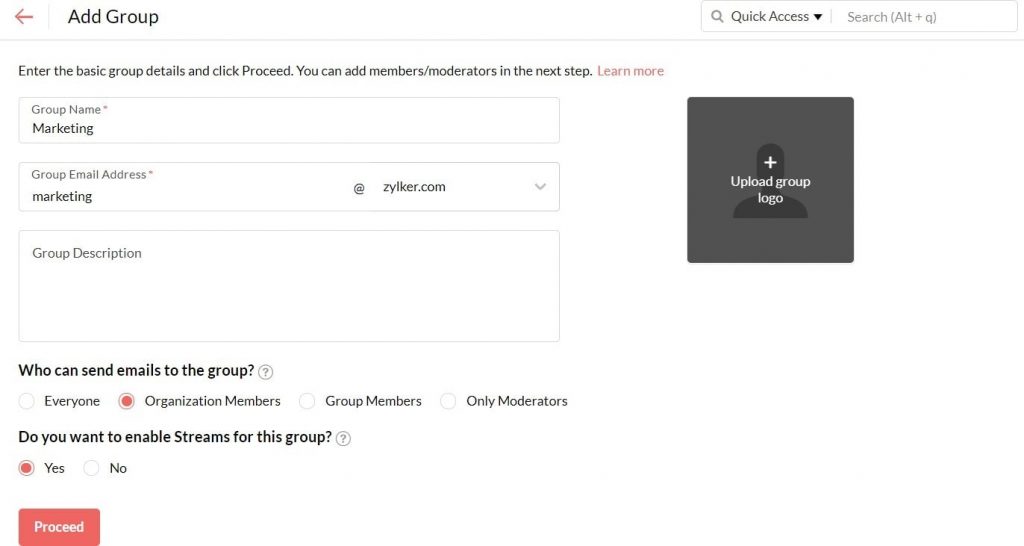
After finishing with creating groups Click on ‘Proceed to DNS Mapping’ to configure email delivery.
Step 3: Set MX records
To receive emails you have to set your MX records accurately, along with SPF and DKIM records also should be set correctly so that emails sent from your domain are not labeled as spam.
You have to add these records to the DNS Manager of your domain provider. Again you can do so in two ways either with one-click verification in case your domain provider is GoDaddy or 1&1 or else you can do it manually by the below steps :
- Open the DNS Manager of your domain provider.
- Clear all the existing MX records page entries and Click on ‘Add Record.
- Provide MX records data taken from the DNS Mapping page to the DNS Manager of your domain provider and then Click ‘Add Record.
- Now Open the TXT records option in the DNS Manager of your domain provider and Click ‘Add TXT Record. Provide the SPF value and Click on the ‘Add Record’ button.
- Again now Click on the ‘Add TXT Record’ option and provide the DKIM Home Name and Values in the options and Click the ‘Add Record’ button.
- On the DNS Mapping window, Click on ‘Verify All Records’.
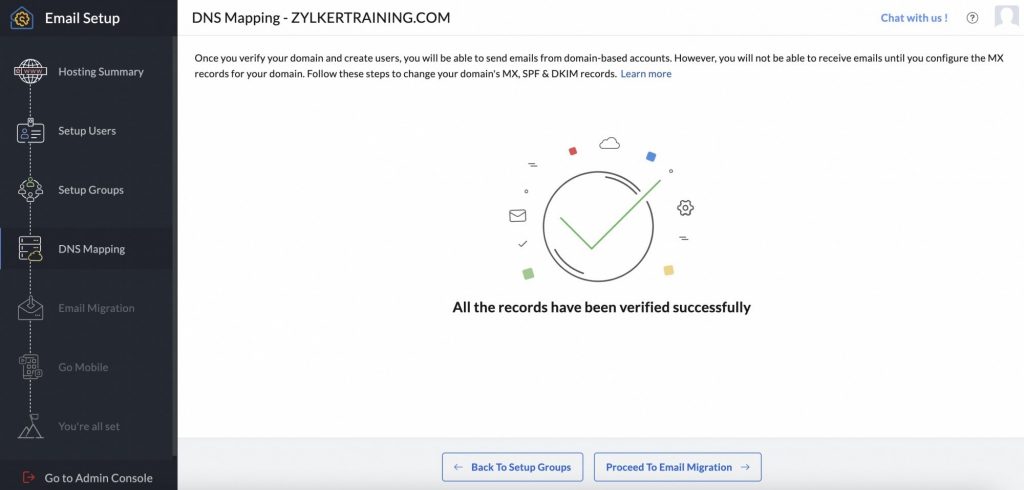
After you are done with setting up all the records and verification is done, go back to Zoho domain setup and follow the remaining instructions to finish the setup process.
Finally, you will be directed to the dashboard of Admin Console, where you can find various options to configure and settings.
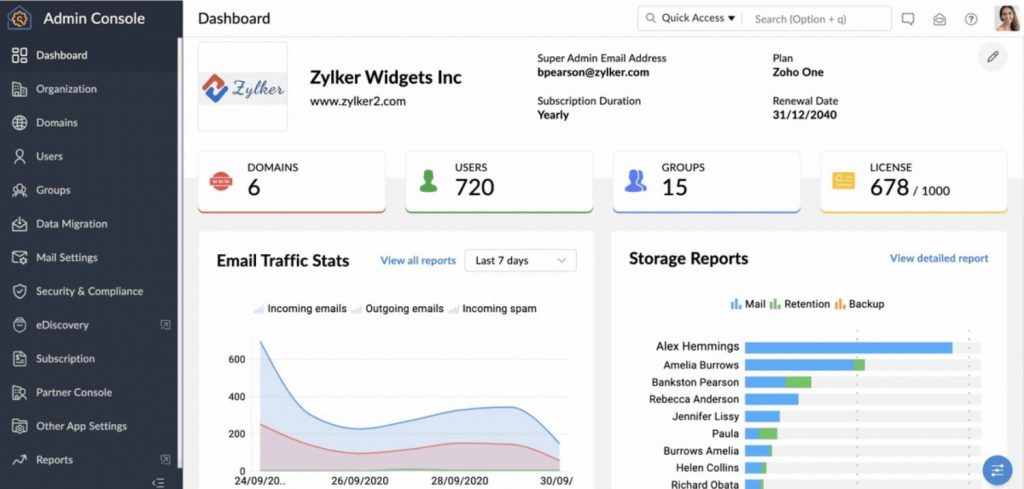
Along with all these free emails for your domain, Zoho also offers iOS and Android mobile apps for that added convenience on the go.
Conclusion –
If you are looking for a free email address for your domain then we strongly recommend trying Zoho Mail. It’s feature-rich enough for basic email address usage in Forever Free Plan but the paid version provides even more configuration and features to keep any business email to be happy with various paid plans suiting for all the needs.
As an added bonus you also get mobile apps to stay connected on the go as well. Hope you find this Blog Helpful. Do let us know in the comment if you found any issue while setting up your domain mail on zoho.


